Fix Your Leather Sectional Like a Pro: Top Tips Revealed!
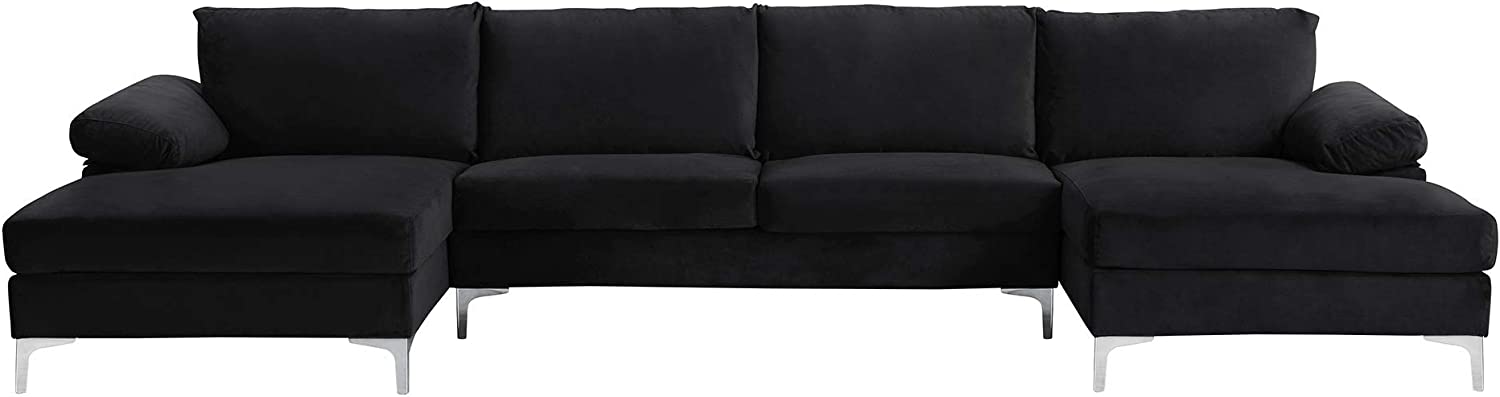
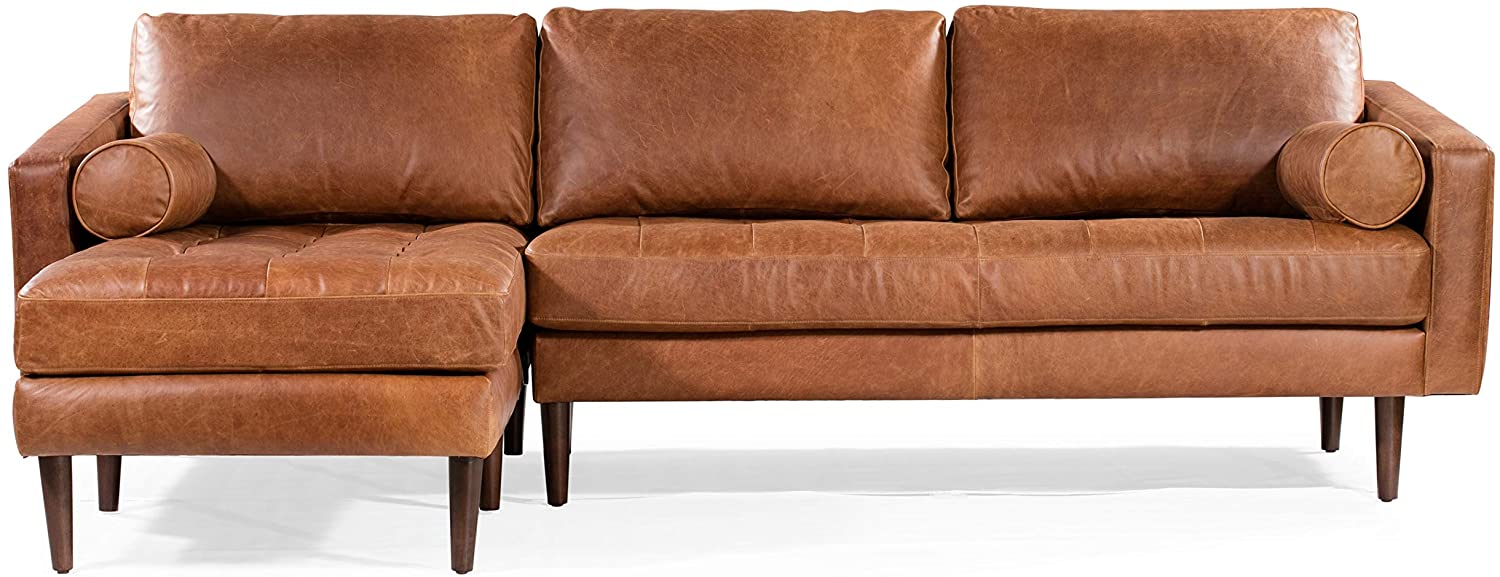
Leather sectionals are among the most popular choices when designing a living room.
Leather sectionals tend to make rooms look open and spacious, allowing you to move around the room easily.
However, sectional leather furniture is also very easy to repair.
Let’s examine the types of repairs that can be made on these pieces and see how easy they are to do.
Leather Sectional Repair involves several steps, depending on the type and extent of damage.

- 1 MILLION HAPPY CUSTOMERS: Trusted worldwide, our repair kits have helped over a million people restore their favorite items to their original condition.
- ALL-IN-ONE REPAIR SOLUTION: Everything you need is right in the box to make your repair simple and stress-free.
- YOUR PERFECT MATCH: From brown, black, burgundy, cream, tan, and white to red, blue, yellow, and everything in between—our full spectrum of colors and foolproof mixing guide makes it easy to create the perfect match every time!
- MADE TO LAST: No flaky, stiff repairs here. Our formula is flexible and durable, so your fix lasts as long as your favorite item does.
- SAY GOODBYE TO ALL KINDS OF DAMAGE: Cracks, scratches, burns, holes, peeling, discoloration, and even faded areas—whatever the damage, this kit has the magic to restore it.
Last update on 2026-07-28 / Affiliate links / Images from Amazon Product Advertising API
Here’s a comprehensive guide to Leather Sectional Repair:
1. Cleaning the Leather
Cleaning the leather surface thoroughly is crucial before any Leather Sectional Repair work begins.
- Materials Needed: A soft cloth, a vacuum cleaner with a brush attachment, a leather cleaner, or mild soap.
- Process:
- Use the vacuum cleaner with a brush attachment to remove dust and debris from the sectional, including crevices.
- Dampen a soft cloth with leather cleaner or a mild soap and water solution. Avoid soaking the leather.
- Wipe the leather gently to remove dirt. Use a second clean, damp cloth to wipe off soap residue.
- Allow the leather to air dry completely before proceeding.
2. Assessing the Damage
Identify the type of damage your sectional has sustained.
Common issues include scratches, tears, burns, and discoloration.
3. Repairing Scratches
- Materials Needed: Leather conditioner or olive oil.
- Process:
- Apply a small amount of leather conditioner or olive oil to a soft cloth.
- Gently rub the cloth over the scratch in a circular motion.
- Allow it to absorb and dry. This can help minimize the appearance of light scratches.
4. Fixing Tears or Cuts
- Materials Needed: A leather sectional repair kit (typically includes leather adhesive, sub-patch material, and leather filler), fine-grit sandpaper, palette knife, and colorant matched to your sectional.
- Process:
- Insert a sub-patch material underneath the tear using tweezers, applying adhesive to secure it.
- With a palette knife, apply leather filler over the tear, building it up in thin layers until it’s slightly above the surface.
- Let each layer dry before applying the next. Once dry, gently sand it down to level with the surrounding leather.
- Apply colorant matched to your sectional’s leather to conceal the repair.
5. Addressing Discoloration
- Materials Needed: Leather dye or colorant matched to your sectional’s color.
- Process:
- Clean the area as described in step 1.
- Apply the colorant with a sponge or spray, following the product’s instructions carefully.
- Allow it to dry completely before applying a second coat if necessary.
6. Conditioning the Leather
After repairs, it’s important to condition the leather to restore its suppleness and prevent future damage.
- Materials Needed: Leather conditioner.
- Process:
- Apply a generous amount of conditioner to a soft cloth.
- Gently rub it into the leather in circular motions.
- Let it absorb and dry according to the product’s instructions.
Leather Sectional Repair Tips for Best Results
- Always test any cleaner, conditioner, or repair material on an inconspicuous area first to ensure it doesn’t cause damage or discoloration.
- Consider consulting a professional for extensive damage, as DIY repairs may not always achieve the desired results.
Following these steps and tips, you can effectively repair and maintain your leather sectional, extending its life and keeping it looking its best.

- Effortlessly Match Leather & Vinyl Every Time: Mix 10 colors for endless possibilities, such as red, black and burgundy; seamless, no-color-difference repair creates a lasting natural blend for sofa, couch, furniture, chair, shoes, bags, purse & car seats
- Pro-Level, Invisible Repair With No Experience Needed: With 10 pigments and leather tools, this kit mixes unlimited colors, covers damage fast, restores original leather color and softness, and leaves a long-lasting, hard-wearing leather finish
- Durable, Flexible Repairs: Deep-penetrating formula patches damage fast with ultra coverage and lasting flexibility; resists wear, fading and cracking from sunlight; for new or old leather, black leather, faux, synthetic, bicast, PU and premium upholstery
- Safe & Non-Sticky: Skin-friendly, non-sticky, quick-drying formula; safe for anyone, pets, and even sensitive people; professionally repairs cracks, scratches, tears, rips, holes, peeling, cut, stains, fade and cats & dogs damage from for a smooth finish
- Love the Results Or It’s on Us: Your satisfaction is important to us! If you have any questions or discontents about our product, just reach out to us and we solve your misgiving includes resupply flawless product or make up all value of your order
Last update on 2026-07-28 / Affiliate links / Images from Amazon Product Advertising API
One leather sectional repair that you might want to consider is paint removal. If your leather sectional has become very dirty or grimy, you may be able to remove some of the dirt by sanding down the surface.
Be sure that the area you’re working in is clean before you even begin so that no residue will be left behind.
You will need some old, crumpled newspaper to perform this repair.
Another repair that can be performed on leather sectionals is striping. This involves removing the top layer of the sectional to expose the underneath.
Once the sectional has been stripped, you can either stitch it back up or use leather repair kits to patch the hole. You will first need to remove the sectional you plan to repair.
Carefully remove all the hardware from the bottom piece so no sharp bits will get caught on your work surface. Use sandpaper to ensure a smooth operation while patching up the piece.
Another option for repairing damaged leather sectionals is called patching. This is the same as stripping, except you can replace the entire piece instead of just the top layer.
This method works well for pieces that have taken much abuse.
If your sectional has taken quite a beating, you may want to consider changing out the entire piece rather than repairing it piece by piece.
Some people are unable to replace their leather sectional with another piece. In this case, you may need to repair the sectional piece by piece.

- NO TECHNICAL EXPERTISE NEEDED : The Leather & Vinyl Repair kit is designed to be very quick and easy to use for everyone, regardless of experience or technical ability. The instructions provided with the kit are detailed but easy to understand and follow, specifically laid out to easily match the color of the furniture and apply the product
- MATCH ANY COLOR : 10 colors, unlimited possibilities for color mixing. ARCSSAI Vinyl and Leather Repair Kit can match any color shoes, couches, office chair, belt, bag, purse, car seat and so on
- PROFESSIONAL RESULTS : This repair kit comes with detailed step-by-step directions and made of high quality, super-fast drying liquid repair adhesive compound that will help repair scratch, cut, hole, tear, rip, crack, mark, pet cat or dog damage on your damaged, cracked, scratched, peeling leather. To make your new or old leatherette, faux, synthetic, bicast, PU or premium upholstery as good as new
- HAPPINESS GUARANTEED : Our professional team are 24 hrs online to help you solve any problems you met during the repair.If the color you want is not available in kit, please refer to the instruction to mix the color you want
- TOTAL CONFIDENCE OR IT’S ON US : If you’re not satisfied with your purchase, we will provide a intact substitute or indemnify the original value of your order
Last update on 2026-07-28 / Affiliate links / Images from Amazon Product Advertising API
First, ensure that the pieces you will repair fit and are the same thickness.
This is very important because you will want to ensure that you don’t glue them together, or they will not stay together once you try to glue them together.
Once the pieces are cut to the proper size, gently glue each using a leather repair glue gun.
There’s something about a leather sectional that whispers luxury and comfort. But when life happens – scratches, tears, wear, and tear – it doesn’t whisper; it screams for attention.
Fear not, for I’m about to unveil pro-level tips to fix your leather sectional, turning you into the repair hero you never knew you were.
Picture this: You’ve got a beautiful leather sectional, the pride of your living room. One day, you notice a scratch as glaring as a typo in a love letter. Your heart sinks.
But here’s the first secret – don’t panic. Minor scratches are like surface wounds. They can often be buffed out gently using a microfiber cloth.
Rub in a circular motion as if you’re trying to coax the scratch to blend back into its luxurious leather world.
But what if the scratch is more profound, more like a scar than a scratch?
Here’s where your inner DIY spirit shines. You’ll need a leather repair kit – your new best friend.
These kits usually come with leather dye, which you can mix to match the color of your sectional.
Apply it carefully, let it dry, and then – like a magician – watch the scar fade away. It’s like makeup for your leather sectional!
Now, let’s tackle the big guns – tears and holes. They’re like plot twists in your sectional’s story.
But every good story has a resolution, right? For small tears, leather repair kits do the trick again. They often include a sub-patch material, which you can place beneath the tear.
Then, apply the filler compound over the tear, let it dry, and finish with a colorant. It’s like conducting surgery, but the patient is your beloved sectional.
But here’s a twist—what if your leather sectional isn’t just damaged and aging? Cracks, dryness, and fading are the leather equivalent of gray hair and wrinkles.
Leather conditioner is your fountain of youth here. Apply it generously to give back moisture and life to the leather.
It’s like a spa day for your sectional, leaving it rejuvenated, supple, and ready to face the world.
And what about those pesky stains?
Maybe a drop of wine or a hint of chocolate that decided to make your sectional their new home.
Here’s where gentleness is the key. Use a mild leather cleaner and a soft cloth. Rub gently as if you’re reassuring the sectional that all will be well.
Aggressive scrubbing is a no-no—it’s like trying to erase a memory only to create a bigger mess.
Regularly clean and maintain your sectional. Use leather protectors to guard against UV rays and spills. Treat it like a treasure, and it will age like fine wine – gracefully and beautifully.
In the end, repairing a leather sectional isn’t just about fixing; it’s about restoring its story and dignity.
It’s about taking what life has thrown at you and saying, “You’re still beautiful.” With these Leather Sectional Repair tips, you’ll be not just a DIY enthusiast but a beauty restorer, a keeper of comfort, and a guardian of your home’s heart.
Leather sectional repair is something that you can tackle yourself.
There are many ways to find information about Leather Sectional Repair online or even at your local store.
However, if you do not feel confident about taking on the task alone, you can hire a professional to repair your sectional.
You can have the entire sectional repaired or just a few pieces. And if you are unsure, hiring a professional may save you time and money in the long run.
Finally, remember, prevention is better than cure.